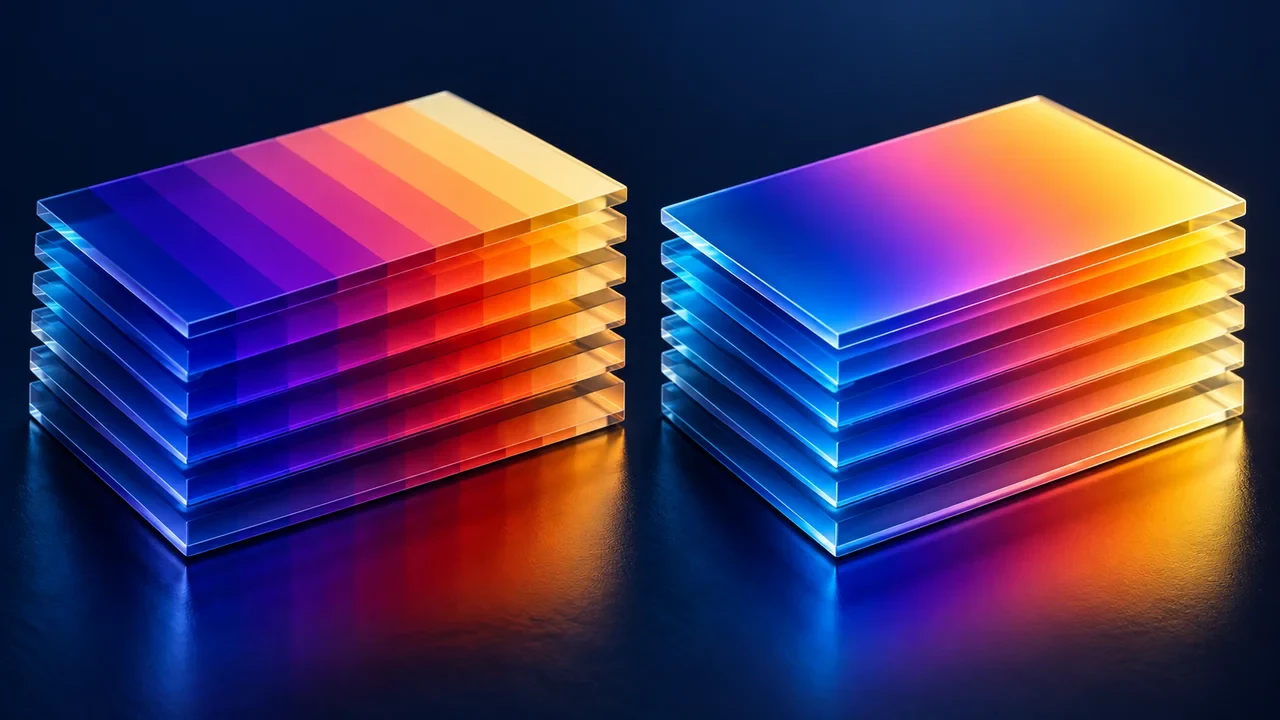
Illustrative editorial image generated with AI.
A 16-bit PNG can preserve finer changes in channel values than an 8-bit PNG. It does not add pixels, sharpen a blurred edge or reconstruct detail lost in an earlier export. The decision is mainly about how much numerical precision the next stage of the workflow needs.
First ask what “8-bit” describes
The PNG specification defines bit depth per sample, or per palette index for indexed images. An RGB image with 8-bit channels stores red, green and blue values with 256 possible levels each. A 16-bit channel has 65,536 possible values. Alpha, when present as a full channel, uses the same sample depth.
This is different from an export option called PNG-8, which commonly means an indexed image with a palette of up to 256 entries. An ordinary 8-bit-per-channel RGB PNG can represent far more than 256 colors. When someone asks for “8-bit PNG,” clarify whether they mean indexed color or 8 bits per channel before exporting.
Use precision where the source actually contains it
Consider a smooth background created in a high-bit-depth document. Several rounds of curves, blending and color conversion may spread nearby values farther apart. Keeping a more precise intermediate file leaves more room for that work. By contrast, a screenshot already captured with 8-bit channel values does not gain missing original tones merely because you save it into a larger numerical container.
Adobe’s bit-depth documentation explains the relationship between channel depth and available tonal information. Application support still matters: a tool may import a 16-bit image but restrict particular filters or export choices. Check the actual processing path rather than assuming the filename preserves everything.
A decision table for everyday work
| Job | Useful starting choice | Check before delivery |
|---|---|---|
| Flat logo or interface screenshot | 8-bit channels; test a palette if appropriate | Text edges, transparency and file size |
| Gradient or image receiving more tonal edits | Keep a 16-bit intermediate when the source warrants it | Banding after the intended adjustments |
| Final web graphic | Compare a practical 8-bit export with the master | Actual browser result at its displayed size |
| Data encoded in image channels | Follow the receiving system’s exact contract | Value preservation, not merely visual similarity |
Make one controlled comparison
- Keep the original editable master unchanged.
- Export the same crop at both depths, with matching dimensions and color management.
- Inspect gentle gradients and partially transparent edges at a sensible zoom.
- If further editing is planned, apply that same representative adjustment to both copies.
- Compare the final downloads and the actual receiving application, not just two thumbnails in the editor.
This is a comparison you can perform on your own asset; it is not a promise that every 16-bit file will look better. If you change dimensions, profile and bit depth at once, you cannot tell which change caused the difference.
File size and color are separate questions
Doubling channel depth doubles the uncompressed sample storage for otherwise matching pixels. It does not guarantee a compressed PNG exactly twice as large: the image structure and compression affect the result. Measure the exported files instead of estimating a delivery budget from the bit-depth label.
Higher bit depth is also not the same thing as a wider gamut or correct color handling. A profile mismatch can remain visible in a 16-bit file. See our guide to removing PNG color profiles before stripping metadata to save bytes.
For a deliverable, include the intended dimensions, channel depth, alpha requirement and destination. “Use the best PNG” leaves too many decisions unresolved. A preserved master plus a checked delivery export is a more useful handoff than choosing the biggest file automatically.