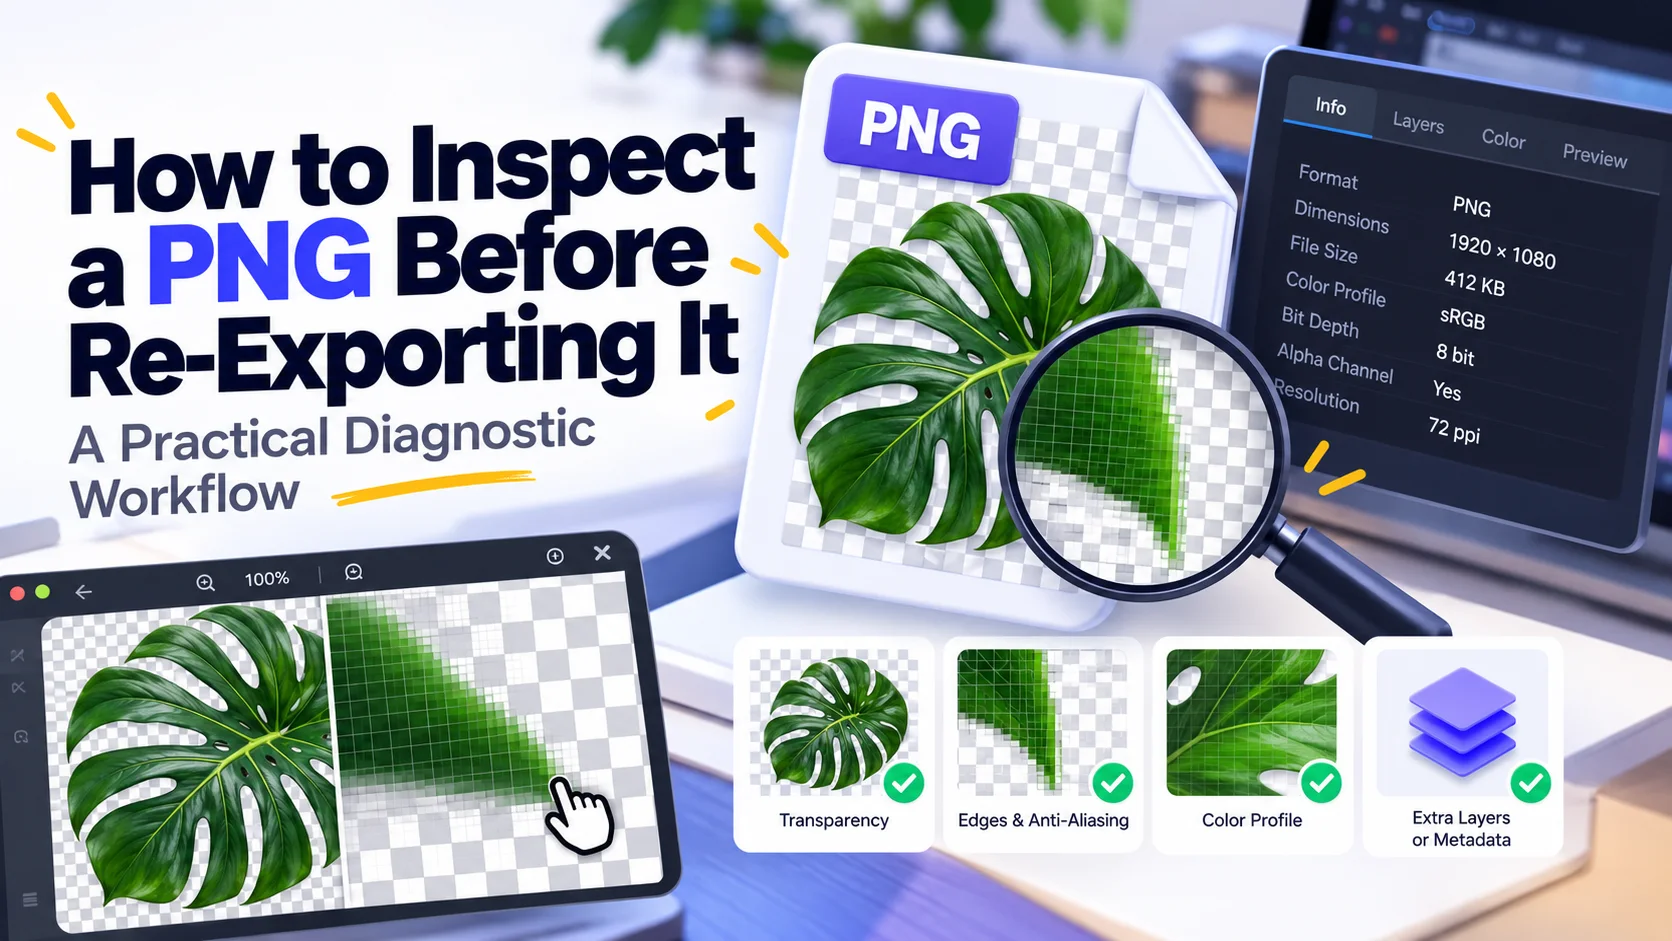
When a PNG behaves strangely, inspect dimensions, color type, bit depth, alpha, chunks, and decoded appearance before changing it.
Preserve the original first
Do not troubleshoot by repeatedly saving over the only copy. Keep the source bytes so you can compare hashes, chunks, metadata, and decoded pixels after every experiment.
Identify the basic raster facts
Record width, height, color type, bit depth, and whether transparency comes from alpha or tRNS. These facts immediately narrow many questions about file size and compatibility.
List the chunks
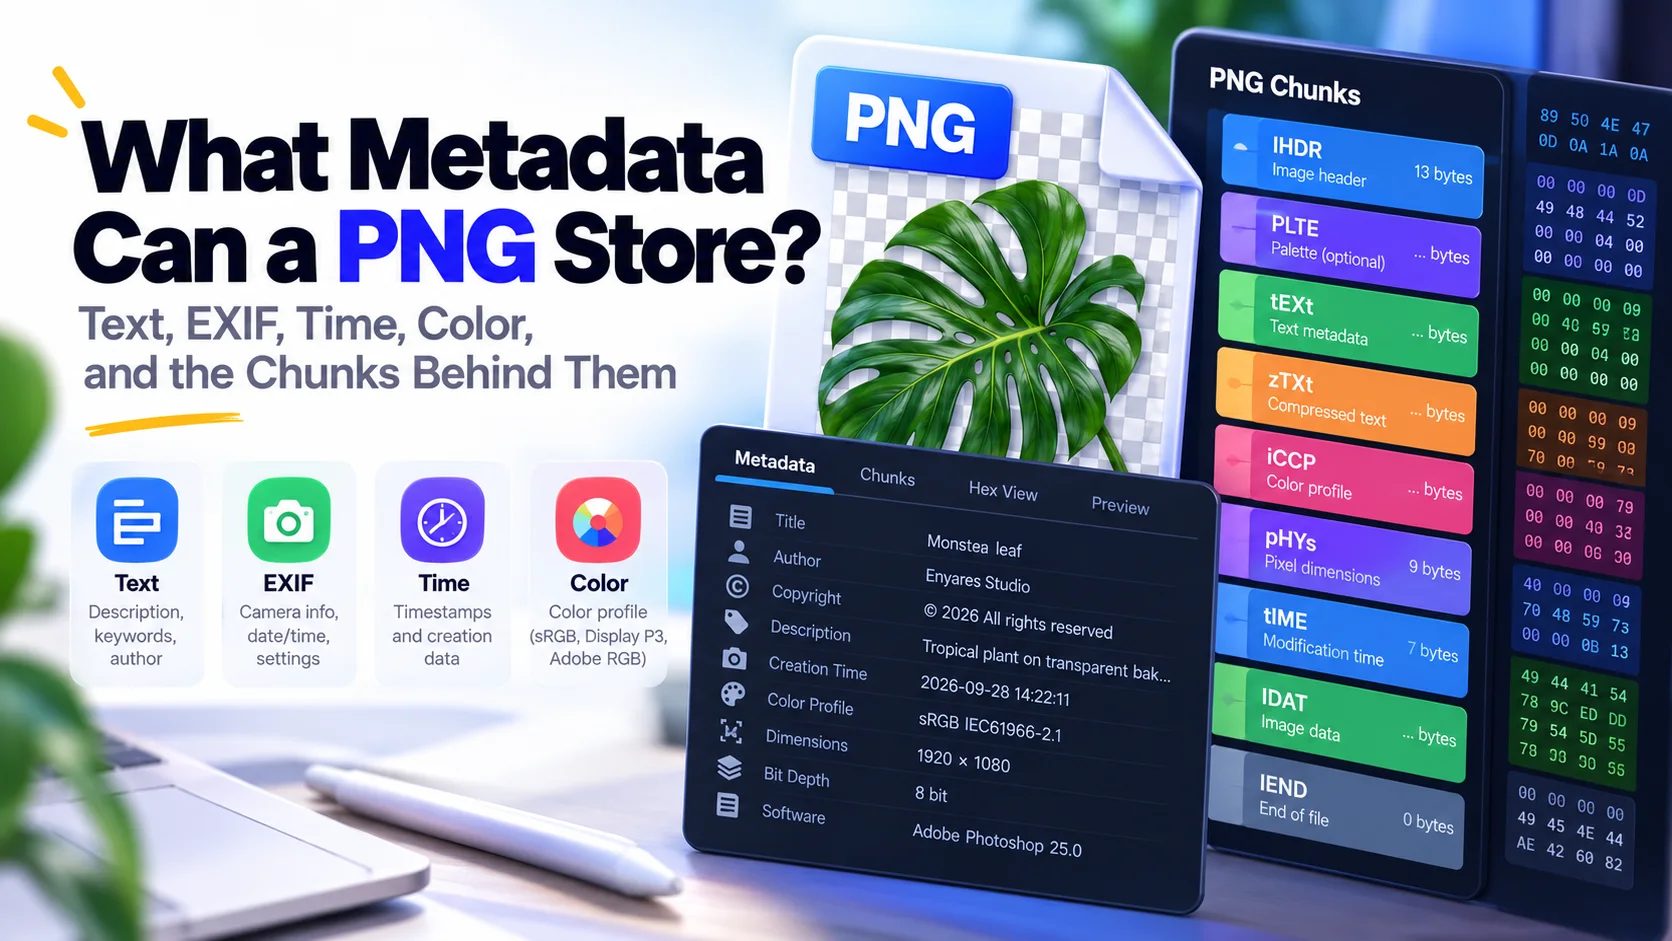
A chunk listing can reveal ICC profiles, sRGB/gamma information, EXIF, text, physical dimensions, animation data, and unusual private chunks. You do not need to understand every byte to see that two 'same-looking' files are structurally different.
Separate decoding from rendering
First ask whether the file decodes into the expected RGBA pixels. Then ask whether a particular application displays those pixels with the expected color management and compositing. Mixing these questions wastes debugging time.
Make one change per experiment
If you simultaneously strip metadata, resize, quantize, and change format, you cannot tell which operation fixed or caused the issue. Controlled image debugging is no different from controlled software debugging.
Document the result
For recurring production issues, keep a tiny fixture set: a transparent edge case, indexed PNG, 16-bit file, color-profile sample, and animation if relevant. Automated checks against known assets catch regressions much earlier than visual bug reports.
Sources and technical basis
Primary technical reference: W3C Portable Network Graphics (PNG) Specification, Third Edition (2025). Web-delivery sections also use MDN guidance for responsive images where relevant.